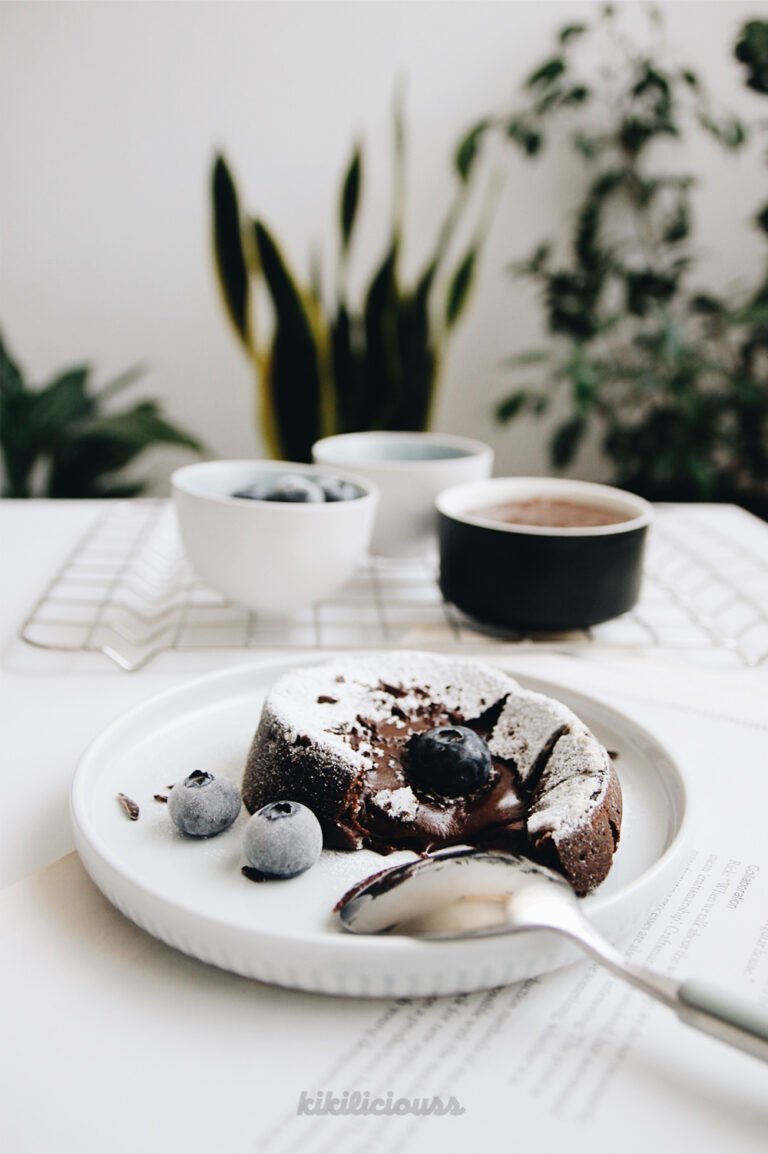
Cooking with dark chocolate is an easy and fun thing for me, therefor this recipe could not lack any of the qualities. Creamy, silky, tempting and with an exploding flavor. This summer is becoming forever more delicious, that is why I suggest you do not waste any more time but head on to making this recipe at your home.
- I do not recommend milk chocolate. Feel free to use dark chocolate, the percentage of bitterness is up to your pick and taste.
- The orange is an extra ingredient, so you can leave it out and have plain dark chocolate ice cream, but the combination of the flavors is fantastic so I strongly encourage you to keep it.
- Every homemade ice cream changes according to the ice cream machine used, meaning that the time of the mixture in the freezer and the preparation time depends on the machine`s instructions. I leave the mixture in the freezer for about 24 hours and then in the machine for about 40 minutes.
- I can tell you now by my own experience that there is a huge difference between the machine and no machine ice-cream, meaning that the machine gives the ice cream a smoother and silkier feature. But, even if you do not own an ice cream machine, this should not be an obstacle. However, I suggest you to buy a small one, if cooking is a thing in your family and you love eating ice cream just as much as I do. The machine will quickly pay its money off and most importantly you will be in charge of your own health.
- If you do not own an ice cream machine and want to reach a similar texture for your ice cream, keep the mixture in the freezer and every 30 minutes take it out and mix with a hand mixer and then put it back in the freezer. Repeat this for 4-5 hours. Otherwise just let the ice cream mixture in the freezer until it is frozen.


Method:
In a big bowl, whisk together the egg yolks, sugar and vanilla extract for 3-4 minutes, until thickened and doubled in size. By this time the mixture should have a pale yellow color.
Add coffee, the grinded orange peel, sieve the cocoa and mix until they become a homogenous mass.
Beginner’s version:
Add milk and mix until reached a homogenous mass.
Add the heavy cream and mix slowly with a spatula in order to incorporate all ingredient.
Be careful to not whip the cream.
Pour the mixture in a pot and cook in low heat for +/- 7 minutes, stirring with the spatula continuously.
The cream will be ready when it has started to thicken and leave marks on the spatula or the wooden spoon you are using.
How to tell: Dip the spoon/spatula in the cream and take it out. Pass your finger by the middle of the spatula. If the cream stays separate it means that the cream is ready for the next step.
*If you want to be even safer regarding the cream cooking: Cook the mass in bain-marie. This way you will completely avoid the chances of the yolk to be cooked.
Professional’s version:
In a pot add milk and the cream and boil them lightly.
Add a scoop of milk and the whipped yolks in the mixture while mixing all together constantly with a whisk.
*It is important to continue mixing in order not to let the yolks cook and ruin the ice cream.
Put the mass in a pot with the other part of the milk and cook until reaching the desired result (read above).
Put the prepared mass in a bowl, passing it in a fine sieve to make sure not to end up with curdled egg (if the mixture has passed in boiling during the cooking)
Put cellophane paper on the surface in order not to let a membrane create during the cooling.
Leave the bowl cool down and then put it in the fridge for 6-8 hours or during the night.
After 6-8 hours or the next day, take the mass out of the fridge and mix it with a spatula.
*The cream will be thick, like a chocolate pudding (this will make the ice cream creamy and give it a friable texture)
Turn the ice cream machine on and pour the mass in.
Let the ice cream be made according to your machine`s instructions.
Afterwards transfer the ice cream in a bowl and put it in the freezer for at least 2-3 hours before serving.


Photography by Eranda Janku